If you’re searching for a clear, reliable guide to installing network attached storage, you’re likely looking to centralize your files, improve data security, and make access across devices seamless. This article is designed to walk you through exactly that—without the confusing jargon or unnecessary technical detours.
We break down what you need before you start, how to choose the right setup for your environment, and the precise steps for installing network attached storage so it works efficiently from day one. Whether you’re upgrading a home office or optimizing a growing digital workspace, you’ll find practical, step-by-step guidance tailored to real-world needs.
To ensure accuracy and reliability, we’ve referenced current device standards, cybersecurity best practices, and real-world configuration scenarios used by IT professionals. By the end, you’ll not only have your NAS system up and running, but you’ll also understand how to maintain, secure, and scale it with confidence.
Unlocking Centralized Data: Your First Step to a Smarter Network
Once you’ve set up your NAS, don’t forget to check out our article on ‘Get Grdxgos‘ to learn how to optimize your storage management even further.
Scattered files waste time and create risk. By installing network attached storage, you build a hub that keeps everything accessible and protected.
Here’s what you gain:
- Instant access to documents, photos, and media from any device on your network.
- Automated backups that protect against drive failure or accidental deletion.
- Simplified sharing for family or small teams without emailing files back and forth.
Instead of juggling cables and cloud logins (we’ve all been there), your data lives in one place. The payoff? Faster workflows and a smarter life.
Choosing Your Hardware: The Foundation of Your Personal Cloud
Picking the right NAS hardware isn’t just technical housekeeping—it determines how fast, reliable, and future‑proof your setup will be (and whether you’ll regret it six months from now).
1. Drive Bays: Capacity vs. Redundancy
A 2-bay NAS is ideal for beginners who want RAID 1 redundancy—meaning your data is mirrored across two drives, so one failure doesn’t equal disaster. A 4-bay or larger system offers more flexibility: higher total storage, RAID 5/6 options, and better performance through striping. If you plan on storing 4K video or large backups, extra bays matter.
2. Processor and RAM: Performance Drivers
The CPU (central processing unit) and RAM (working memory) directly affect multitasking and media streaming. Running Plex, syncing files, and hosting backups simultaneously requires more memory and a capable processor. More RAM reduces buffering and lag (especially noticeable with 4K streams).
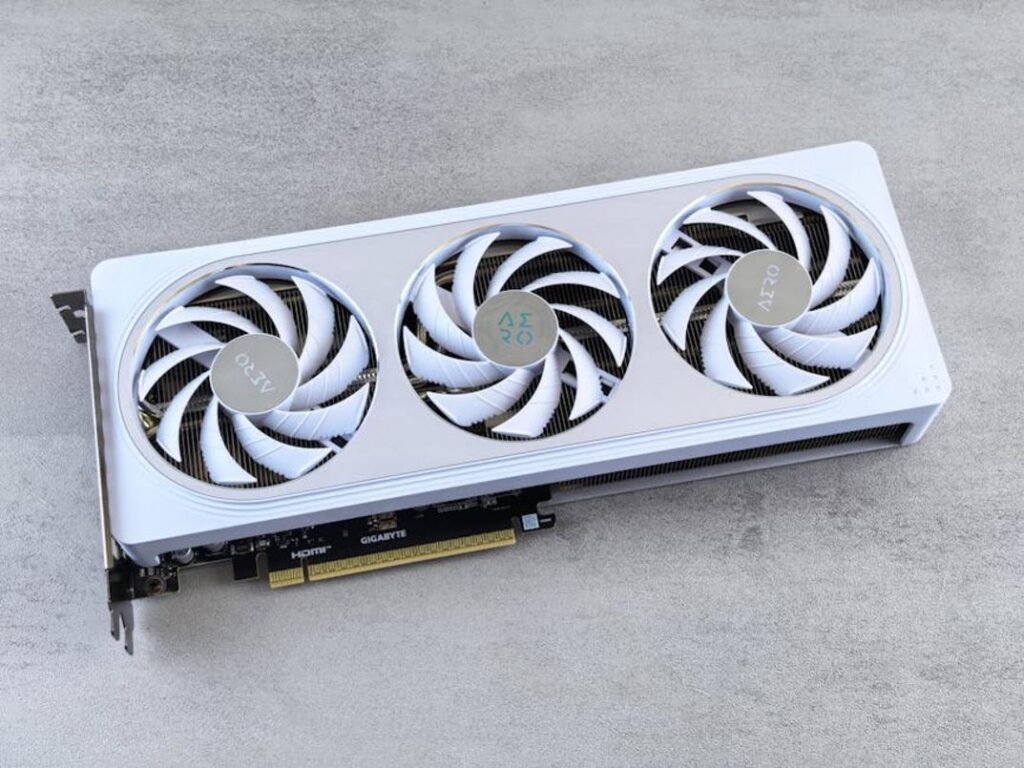
3. Selecting the Right Hard Drives
NAS-specific drives like WD Red or Seagate IronWolf are built for 24/7 operation and vibration resistance. Standard desktop drives aren’t designed for constant uptime and may fail sooner (Backblaze drive stats consistently show workload impacts longevity).
4. Connectivity Check
Match your NAS ports to your network:
- 1GbE for standard home use
- 2.5GbE for faster transfers
- USB for backups or expansion
Before installing network attached storage, confirm your router and cables support your target speeds.
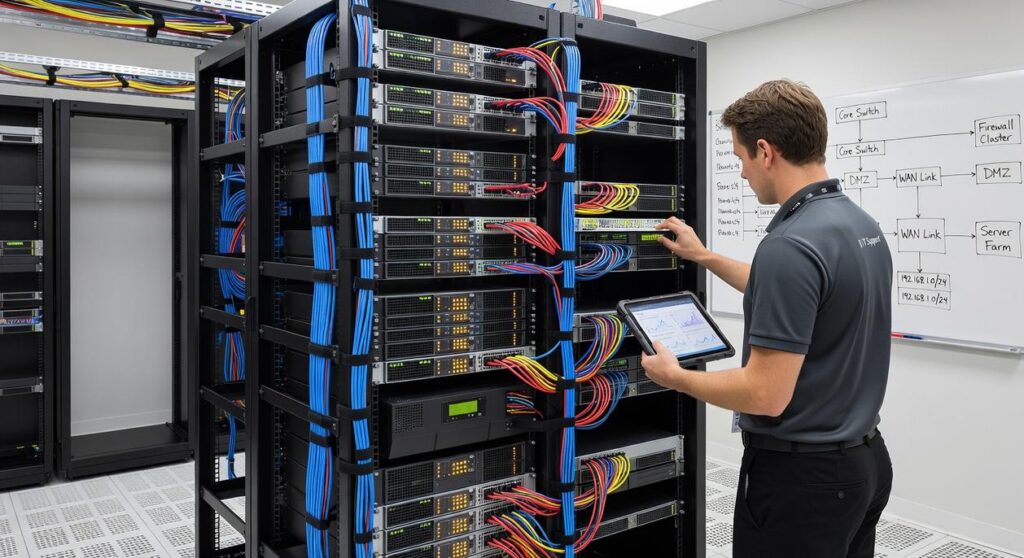
Step-by-Step Guide: From Unboxing to Network Discovery
Physical Installation
Unboxing your NAS feels deceptively simple—until you realize the drives only fit one way (ask me how I know). Slide each hard drive into its bay until it clicks firmly into place. No screws, no tools—just steady pressure. If it doesn’t glide in smoothly, stop. Forcing it can bend connectors (a mistake I made once that cost me a perfectly good SATA port). Properly seated drives should sit flush with the enclosure.
Making the Connection
Next comes the easy-to-overthink part: cables. Plug an Ethernet cable from the NAS into your router—not your modem. I once spent 30 minutes troubleshooting a “dead” device that was simply plugged into the wrong port. Then connect the power adapter to a reliable outlet or surge protector. Avoid overloaded power strips; inconsistent power can corrupt data (the digital equivalent of pulling the plug mid-save).
The First Boot-Up
Press the power button and watch the indicator lights. Expect blinking LEDs and possibly a few beeps. That’s normal. What’s not normal? Continuous loud beeping—usually a drive seating issue. During my first attempt at installing network attached storage, I ignored the beep. Turns out, the NAS wasn’t being dramatic; it was right.
Finding Your NAS on the Network
Use the manufacturer’s discovery tool like Synology Assistant or QNAP Qfinder Pro to locate your device. Alternatively, log into your router’s admin panel to find the NAS IP address. If it doesn’t appear immediately, wait a few minutes. Patience here saves frustration later (and prevents unnecessary factory resets).
Software Configuration: Building Your Digital Stronghold
The first time I finished installing network attached storage, I felt like I’d just fortified a digital castle. The blinking lights, the quiet hum—POWERFUL stuff (and slightly addictive).
Operating System Installation
When you power on your NAS, an on-screen wizard walks you through installing its operating system—like DSM (DiskStation Manager) for Synology or QTS for QNAP. An operating system (OS) is the core software that manages hardware and apps. Think of it as the “Jarvis” to your Iron Man suit.
The wizard typically asks you to:
- Select language and region
- Install the latest OS version
- Create an admin account
- Configure basic network settings
Pro tip: ALWAYS enable automatic updates during setup. Security patches matter more than you think.
Understanding RAID
RAID stands for Redundant Array of Independent Disks. It combines multiple drives for performance or protection.
- RAID 1 (Mirroring): Two drives store identical data. If one fails, the other keeps running. Great for families protecting photos.
- RAID 5: Requires 3+ drives. It balances storage efficiency and redundancy by spreading data and parity (error-checking information) across disks.
Some argue RAID is overkill for home users. I disagreed—right after a drive failure didn’t cost me years of documents.
Creating Storage Pools and Volumes
A storage pool groups drives together. A volume is the usable space created from that pool. It’s like pouring concrete (pool) and then marking parking spots (volumes).
Setting Up Your First Shared Folder
Create folders like:
- Documents
- Photos
- Backups
Assign permissions so family or coworkers can access what they need.
For extra protection, consider setting up a personal vpn for safer browsing when accessing files remotely. Because a stronghold deserves guarded gates.
User Management and Security Essentials
Creating separate user accounts prevents logins from running as the default admin, reducing attack surfaces and accidental system changes. When installing network attached storage, map each person to a named profile with unique credentials and audit logs.
Assign permissions by defining read, write, or no-access rules per shared folder; sensitive finance or HR directories should default to least privilege, a security principle meaning users get only what they need (think Mission Impossible vaults).
Enable basics: change default admin password, activate firewall, and require 2FA for access.
Pro tip: review permissions quarterly and disable dormant accounts.
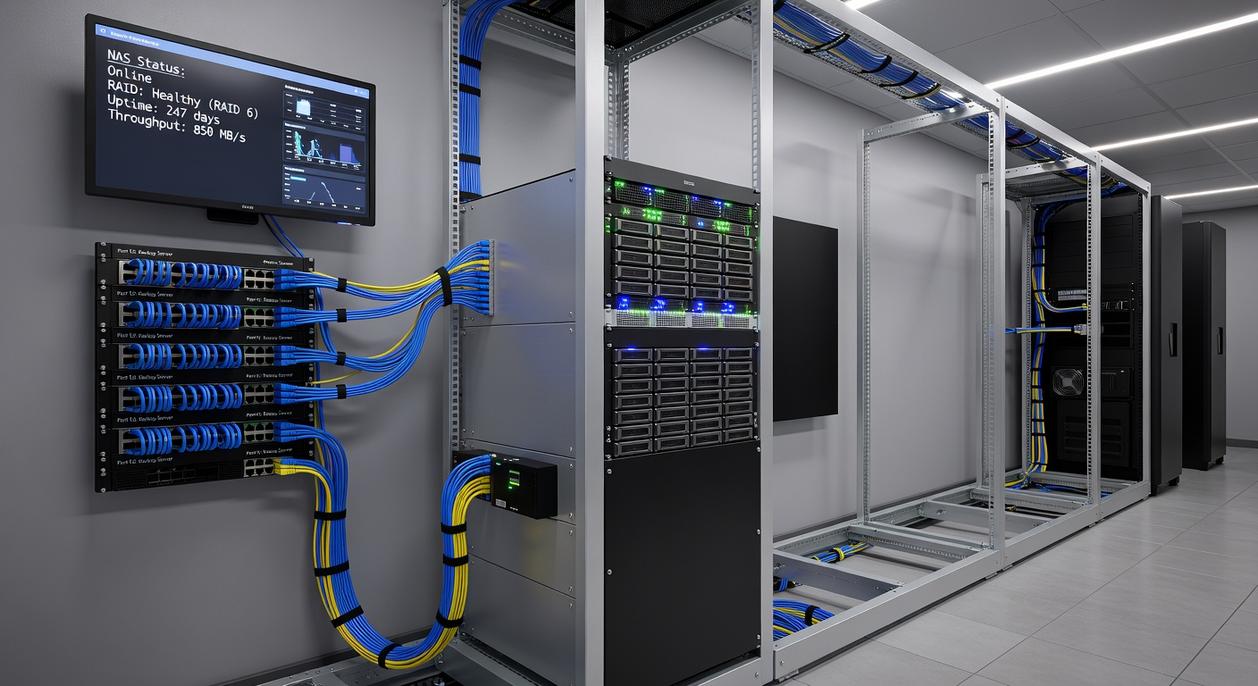
Your Network’s New Data Hub: Accessing and Using Your Files
You’ve completed installing network attached storage—and now your network has a centralized data hub. Instead of scattered files across laptops and phones, you get one secure, always-available location (think of it as your home’s private cloud, minus the monthly fees).
Key benefits:
- Centralized storage – All files live in one reliable source.
- Multi-device access – Reach data from PCs, Macs, tablets, or smart TVs.
- Built-in redundancy – Many NAS systems support RAID for data protection.
Next, map shared folders as network drives on Windows or macOS for seamless access. Then explore the app center—add Plex, a photo manager, or automated backups. Learn more at https://keepho5ll.com/nas-guide.
You started this guide because you wanted clarity on installing network attached storage without the confusion, security risks, or wasted time. Now you understand how NAS works, how to configure it properly, and how to protect your data while keeping performance high.
The frustration of scattered files, limited device storage, and constant security concerns doesn’t have to continue. With the right setup, you gain centralized access, smarter backups, and full control over your digital ecosystem.
Take Control of Your Storage Today
Don’t let slow transfers, data loss fears, or messy file systems hold you back. Take the next step and implement your NAS setup with confidence. Thousands of tech enthusiasts rely on trusted, step-by-step digital innovation insights to simplify complex setups and secure their devices the right way. Start optimizing your storage now and transform the way you store, access, and protect your data.
 Head of Digital Insights & Security
Tamara Strongivers has opinions about digital innovations and concepts. Informed ones, backed by real experience — but opinions nonetheless, and they doesn't try to disguise them as neutral observation. They thinks a lot of what gets written about Digital Innovations and Concepts, Interactive Tech Setup Guides, Knowledge Vault is either too cautious to be useful or too confident to be credible, and they's work tends to sit deliberately in the space between those two failure modes.
Reading Tamara's pieces, you get the sense of someone who has thought about this stuff seriously and arrived at actual conclusions — not just collected a range of perspectives and declined to pick one. That can be uncomfortable when they lands on something you disagree with. It's also why the writing is worth engaging with. Tamara isn't interested in telling people what they want to hear. They is interested in telling them what they actually thinks, with enough reasoning behind it that you can push back if you want to. That kind of intellectual honesty is rarer than it should be.
What Tamara is best at is the moment when a familiar topic reveals something unexpected — when the conventional wisdom turns out to be slightly off, or when a small shift in framing changes everything. They finds those moments consistently, which is why they's work tends to generate real discussion rather than just passive agreement.
Head of Digital Insights & Security
Tamara Strongivers has opinions about digital innovations and concepts. Informed ones, backed by real experience — but opinions nonetheless, and they doesn't try to disguise them as neutral observation. They thinks a lot of what gets written about Digital Innovations and Concepts, Interactive Tech Setup Guides, Knowledge Vault is either too cautious to be useful or too confident to be credible, and they's work tends to sit deliberately in the space between those two failure modes.
Reading Tamara's pieces, you get the sense of someone who has thought about this stuff seriously and arrived at actual conclusions — not just collected a range of perspectives and declined to pick one. That can be uncomfortable when they lands on something you disagree with. It's also why the writing is worth engaging with. Tamara isn't interested in telling people what they want to hear. They is interested in telling them what they actually thinks, with enough reasoning behind it that you can push back if you want to. That kind of intellectual honesty is rarer than it should be.
What Tamara is best at is the moment when a familiar topic reveals something unexpected — when the conventional wisdom turns out to be slightly off, or when a small shift in framing changes everything. They finds those moments consistently, which is why they's work tends to generate real discussion rather than just passive agreement.