If you’re searching for clear, up-to-date guidance on smart home hub configuration, you’re likely trying to connect devices seamlessly, eliminate setup frustration, and make your smart ecosystem actually work the way it should. With new smart devices, firmware updates, and security standards constantly evolving, outdated advice can leave you with connectivity issues, security gaps, or underperforming automation.
This article is designed to walk you through the latest best practices for configuring your smart home hub efficiently and securely. We break down compatibility considerations, network optimization tips, and data protection essentials so you can build a system that’s stable, responsive, and future-ready.
Our guidance is based on continuous monitoring of smart device trends, firmware changes, and cybersecurity updates affecting connected homes. By the end, you’ll understand how to streamline setup, strengthen device security, and ensure your hub operates as the reliable core of your smart home ecosystem.
Ever feel like your phone is a ringmaster juggling a dozen apps just to dim lights and lock doors? Each device demands its own spotlight, and before long your screen feels like digital clutter. Meanwhile, this app chaos keeps your thermostat, cameras, and speakers from speaking the same language, which quietly sabotages the dream of a truly smart home. Think of a dedicated hub as the orchestra conductor: it unites every instrument into one seamless performance. With smart home hub configuration, your devices collaborate. In this guide, you’ll learn how to choose the right hub and integrate devices smoothly together.
I learned the hard way that Wi-Fi alone isn’t enough. One night, my internet went down—and suddenly my “smart” lights wouldn’t turn on. That’s when I switched to a dedicated hub.
A hub is a local controller that lets devices talk directly to each other without relying on the cloud. Think of it as a traffic cop for your gadgets (minus the whistle).
Here’s what changed for me:
-
Speed & Reliability
Because commands process locally, lights respond almost instantly. Even during outages, core automations still run. According to Consumer Reports, local control improves response time and reliability in smart homes. -
Powerful Automations
Instead of basic timers, I built rules like: If the front door unlocks after 9 PM and the TV is off, set hallway lights to 30%. That level of smart home hub configuration simply isn’t possible with most standalone apps. -
A Stronger Network
Hubs using Zigbee or Z-Wave create mesh networks, reducing Wi-Fi congestion (goodbye buffering battles).
Choosing the Right Hub: Protocols, Platforms, and Power
The Foundation: Understanding Communication Protocols
First, let’s decode the alphabet soup. Zigbee and Z-Wave are low-power mesh networks—meaning devices relay signals to each other, extending range across your home (especially useful in larger suburban builds with thick drywall). Wi-Fi, by contrast, connects directly to your router; it’s fast but can clog bandwidth if you stack dozens of devices.
Now enters Matter—a universal interoperability standard backed by Apple, Google, and Amazon. In plain terms, it’s designed to future-proof your setup by letting devices from different brands speak the same language locally, not just through the cloud.
Some argue Wi-Fi alone is enough—after all, most apartments in cities like Seattle or Austin rely on strong fiber connections. However, Wi-Fi-only setups often struggle with latency and router congestion. A multi-protocol hub avoids that bottleneck.
Why Multi-Protocol Matters
In practice, smart home hub configuration is smoother when your hub supports Zigbee, Z-Wave, Wi-Fi, and Matter. That flexibility protects your investment as ecosystems evolve.
| Protocol | Strength | Best For |
|---|---|---|
| Zigbee | Low power, mesh |
Sensors, bulbs |
| Z-Wave | Reliable, secure | Locks, switches |
| Wi-Fi | High bandwidth | Cameras, speakers |
| Matter | Cross-brand support | Future expansion |
Your Technical Comfort Zone: Plug-and-Play vs. DIY
Meanwhile, platforms like SmartThings and Hubitat offer guided automation flows (think: fewer command lines, more toggles). On the other hand, Home Assistant appeals to power users who enjoy YAML scripting and local server control—popular among Raspberry Pi enthusiasts.
Pre-Purchase Checklist
Before buying, ask:
- What devices do I already own?
- Which brands dominate my local retailers?
- How much time will I spend customizing automations?
Ultimately, your hub should match both your home’s wiring realities and your patience level.
The 5-Step Hub Installation and Device Pairing Process
Step 1: Optimal Placement and Connection
Place your hub in a central, open location—away from thick walls, microwaves, and large metal appliances. Studies on Wi‑Fi signal propagation show walls and appliances can reduce signal strength by up to 30% (FCC guidance). Connect the hub directly to your router with an Ethernet cable for maximum stability (Wi‑Fi is convenient, but wires win reliability battles).
Step 2: Initial Software Configuration
Power on the hub and locate it via the manufacturer’s app or by typing its IP address into your browser. Most routers list connected devices in their admin panel. Create a strong admin account using a unique password—at least 12 characters with mixed symbols (NIST password guidelines recommend length over complexity). Immediately check for firmware updates. According to CISA, unpatched firmware is a leading cause of IoT vulnerabilities. Applying updates now strengthens your smart home hub configuration before adding devices.
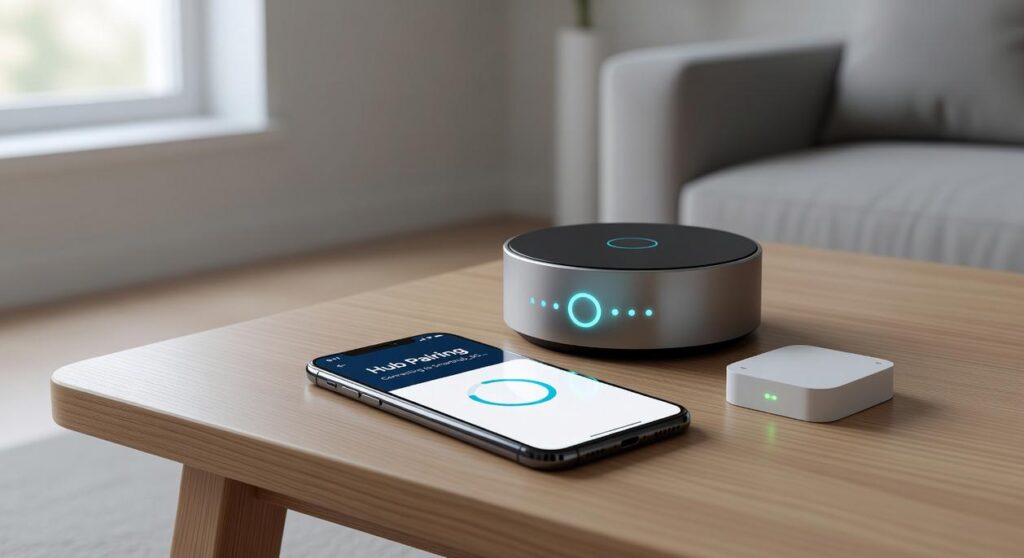
Step 3: Pairing Your First Device
Start simple—with a smart plug. In the hub dashboard, enable “discovery” or “pairing” mode. Then press the pairing button on the plug (usually held for 5–10 seconds). Within moments, the device should appear in the interface. If it doesn’t, confirm it’s within range and not already paired elsewhere. Zigbee and Z-Wave devices, for example, require exclusion before re‑pairing (a common rookie hiccup).
Step 4: Building Your First Automation
Create a basic rule:
- Trigger: Motion Sensor A detects movement
- Action: Turn on Smart Plug B
This cause‑and‑effect logic is the core value of any hub. Even a simple automation demonstrates real-time responsiveness (and feels a bit like setting up your own JARVIS).
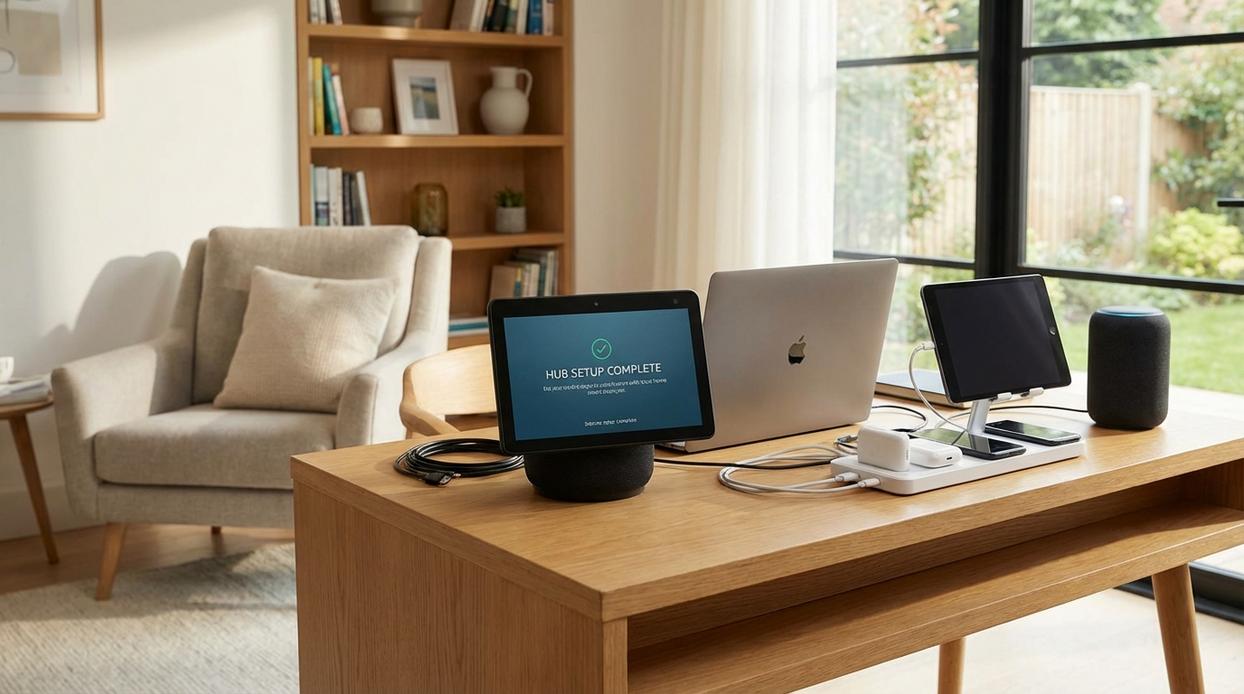
Step 5: Expanding Your Ecosystem Systematically
Add devices one at a time. Name them clearly—“Living Room Lamp” beats “Plug 3.” Test each device before adding another. Incremental setup reduces troubleshooting time by isolating issues. For broader network storage integration, see the beginners guide to installing a network attached storage nas. Slow and steady truly prevents smart home chaos.
Securing a connected household isn’t optional anymore—it’s basic digital hygiene. First, create a strong, unique password for your hub’s admin account. Reusing passwords is like handing burglars a master key (and yes, hackers do try old leaks first, Verizon DBIR).
Enable two-factor authentication immediately. In my view, 2FA is the single smartest move you can make; it stops most automated attacks cold.
Check for firmware updates monthly. Patches fix real vulnerabilities, not theoretical ones.
If you’re serious about smart home hub configuration, place devices on a separate guest Wi-Fi network. It’s cleaner, safer, and worth it. Truly worth the effort.
From Cluttered Apps to an Intelligent Home
After weeks of toggling between disconnected apps, you’ve finally consolidated everything into one powerful command center. In just a few evenings of careful smart home hub configuration, the chaos gave way to clarity. Now, instead of isolated gadgets, your lights, locks, cameras, and thermostats work in concert—triggering automations that boost convenience, strengthen security, and trim energy waste.
Next, explore your hub’s interface to create scenes and time-based schedules. That’s where the magic compounds. The setup was the hard part; now the real fun begins as your home starts responding intelligently to your life.
Take Control of Your Smart Home Today
You came here looking for clarity on how to simplify and optimize your smart home hub configuration—and now you have a clear path forward. From choosing compatible devices to securing your network and automating daily routines, you’re equipped to eliminate the confusion and tech overwhelm that often comes with building a connected home.
The frustration of devices not syncing, automations failing, or security gaps putting your data at risk doesn’t have to continue. With the right setup strategy, your smart home can finally work for you instead of against you.
Now it’s time to act. Review your current setup, apply the configuration steps outlined above, and fine-tune your integrations for performance and security. If you want faster results and fewer headaches, explore our step-by-step interactive guides trusted by thousands of smart device users. Start optimizing today and transform your smart home into a seamless, secure experience.
 Founder & Chief Innovation Officer
There is a specific skill involved in explaining something clearly — one that is completely separate from actually knowing the subject. Drathen Zelthorne has both. They has spent years working with secure data infrastructure insights in a hands-on capacity, and an equal amount of time figuring out how to translate that experience into writing that people with different backgrounds can actually absorb and use.
Drathen tends to approach complex subjects — Secure Data Infrastructure Insights, Interactive Tech Setup Guides, Digital Innovations and Concepts being good examples — by starting with what the reader already knows, then building outward from there rather than dropping them in the deep end. It sounds like a small thing. In practice it makes a significant difference in whether someone finishes the article or abandons it halfway through. They is also good at knowing when to stop — a surprisingly underrated skill. Some writers bury useful information under so many caveats and qualifications that the point disappears. Drathen knows where the point is and gets there without too many detours.
The practical effect of all this is that people who read Drathen's work tend to come away actually capable of doing something with it. Not just vaguely informed — actually capable. For a writer working in secure data infrastructure insights, that is probably the best possible outcome, and it's the standard Drathen holds they's own work to.
Founder & Chief Innovation Officer
There is a specific skill involved in explaining something clearly — one that is completely separate from actually knowing the subject. Drathen Zelthorne has both. They has spent years working with secure data infrastructure insights in a hands-on capacity, and an equal amount of time figuring out how to translate that experience into writing that people with different backgrounds can actually absorb and use.
Drathen tends to approach complex subjects — Secure Data Infrastructure Insights, Interactive Tech Setup Guides, Digital Innovations and Concepts being good examples — by starting with what the reader already knows, then building outward from there rather than dropping them in the deep end. It sounds like a small thing. In practice it makes a significant difference in whether someone finishes the article or abandons it halfway through. They is also good at knowing when to stop — a surprisingly underrated skill. Some writers bury useful information under so many caveats and qualifications that the point disappears. Drathen knows where the point is and gets there without too many detours.
The practical effect of all this is that people who read Drathen's work tend to come away actually capable of doing something with it. Not just vaguely informed — actually capable. For a writer working in secure data infrastructure insights, that is probably the best possible outcome, and it's the standard Drathen holds they's own work to.